We love a good DIY, but half the time, it doesn’t turn out exactly how Pinterest said it would (#fail). Well, this three-step watercolor-mug project is so simple, it restored our faith in how-tos. Get your artistic juices flowing this weekend and jazz up your white-mug collection. We know you’ll be just as obsessed with the outcome as we are.
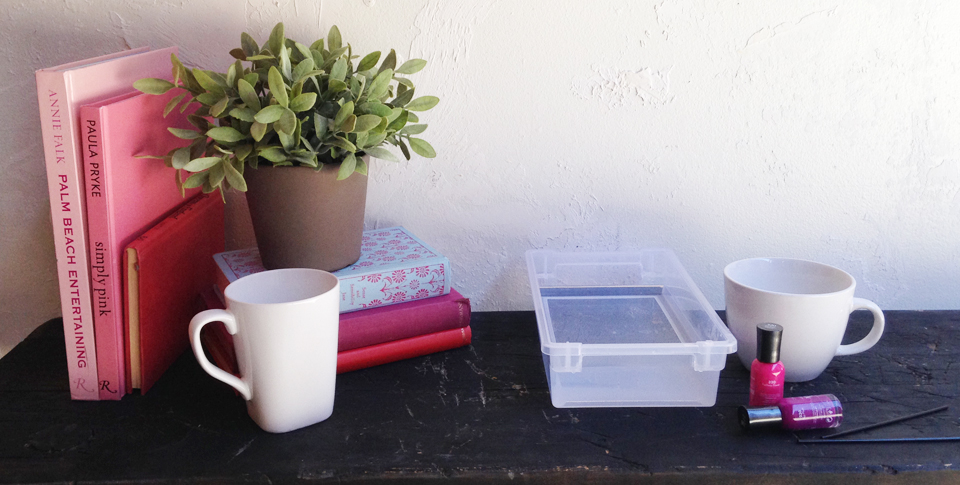
What You Need
White mug
Bright or dark nail polish (not quick-dry)
Old container you don’t mind ruining
Toothpick or coffee stirrer
Paper towel or parchment paper
Directions
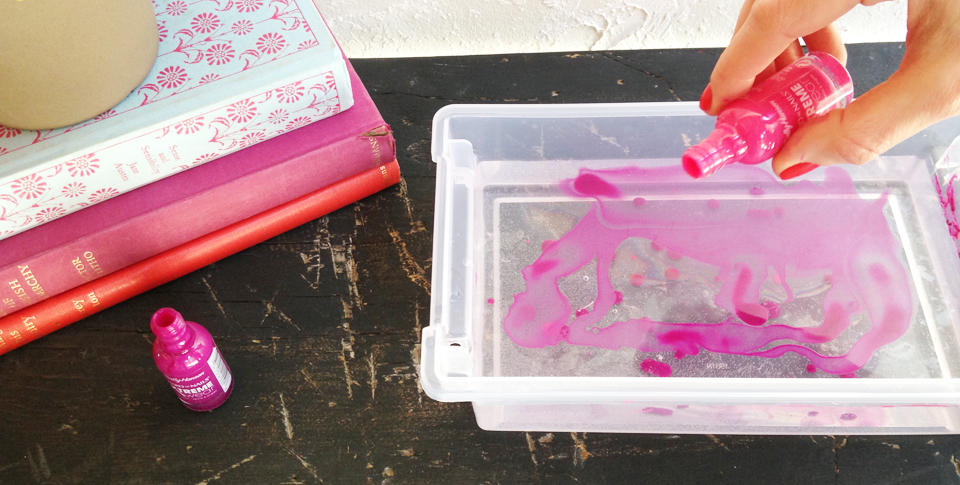
1. Fill an old container about halfway with warm water (the warmer the better). Just be sure it’s big enough to fit your mug.
2. Grab your nail polish and pour a few drops close to the surface of the water – if dropped too high, the polish will sink to the bottom and not dissipate.
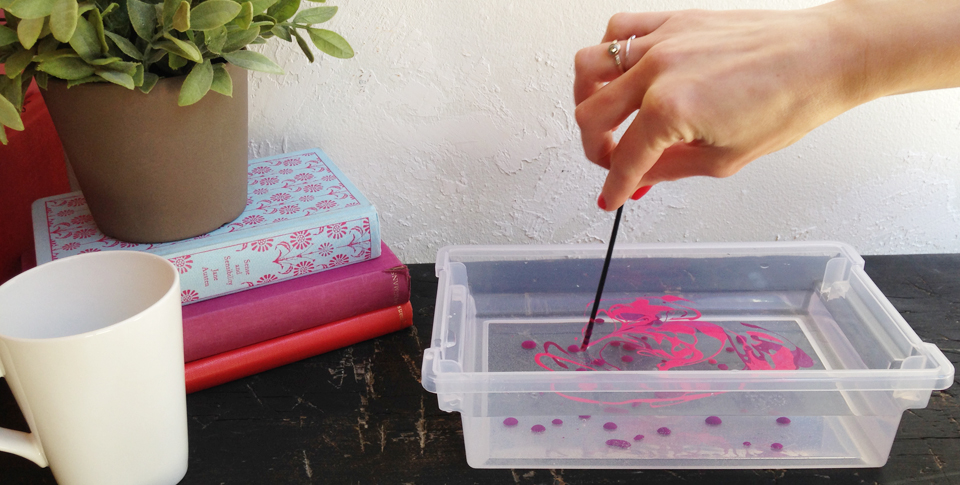
3. Swirl with stirrer if necessary. A film will start to form (which means it is starting to dry already).
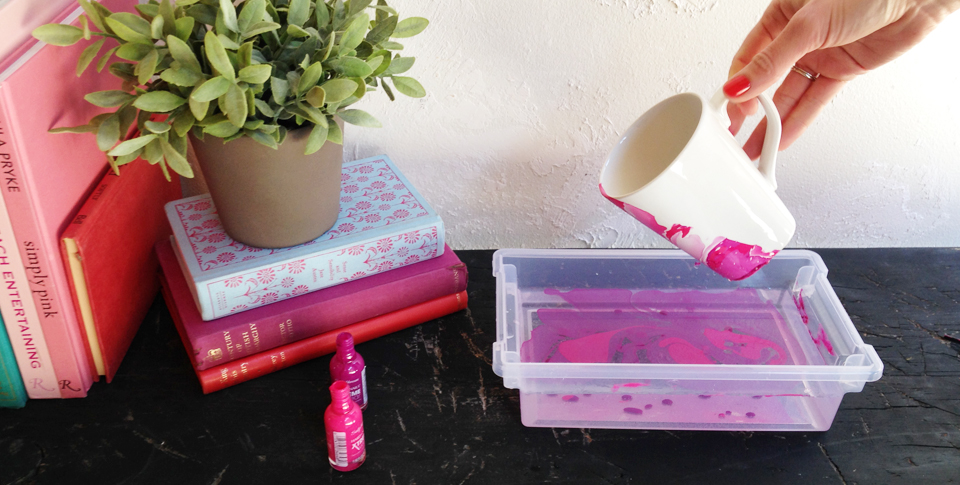
4. Dip and swirl your mug to pick up the paint, then place it on the paper towel to dry. Don’t touch until it’s completely dry.
Helpful Tips
- Try using a plastic Solo cup first to get the hang of it.
- Use two colors to get a really fun marbling effect.
- Your mug is no longer dishwasher- or microwave-safe.
- If possible, don’t put the polish on an area where you would place your lips.
- Only dip your item once. If you feel like it needs more, let it dry and start again until you get the desired effect.
- If you really messed it up, you can take some nail polish remover to it.
- When emptying out the water from the container, be sure to scoop out all the extra polish with a paper towel first or you’ll have a very colorful sink.
See all of our DIY posts here.
By Brianna Lapolla, Staff Writer
![]()


